How to Remove Shadow from Product Photos: Methods That Work
How to remove shadows from product photos: AI tools, Photoshop techniques, and practical methods for clean, shadow-free images that meet marketplace standards.
Shadows in product photos create two distinct problems. The first is aesthetic — harsh or uneven shadows make products look less professional and can obscure important details. The second is compliance — Amazon and Walmart both prohibit shadows on main product images, and listings with visible shadows get suppressed from search results. Whether you're cleaning up photos for marketplace compliance or improving the overall quality of your product imagery, shadow removal is one of the most common post-processing tasks in e-commerce photography. This guide covers the practical methods, from the fastest AI approach to manual Photoshop techniques, and when each method is the right choice.
Why Shadows Appear in Product Photos
Understanding what causes product photo shadows helps you both prevent them at the shooting stage and remove them more effectively in post.
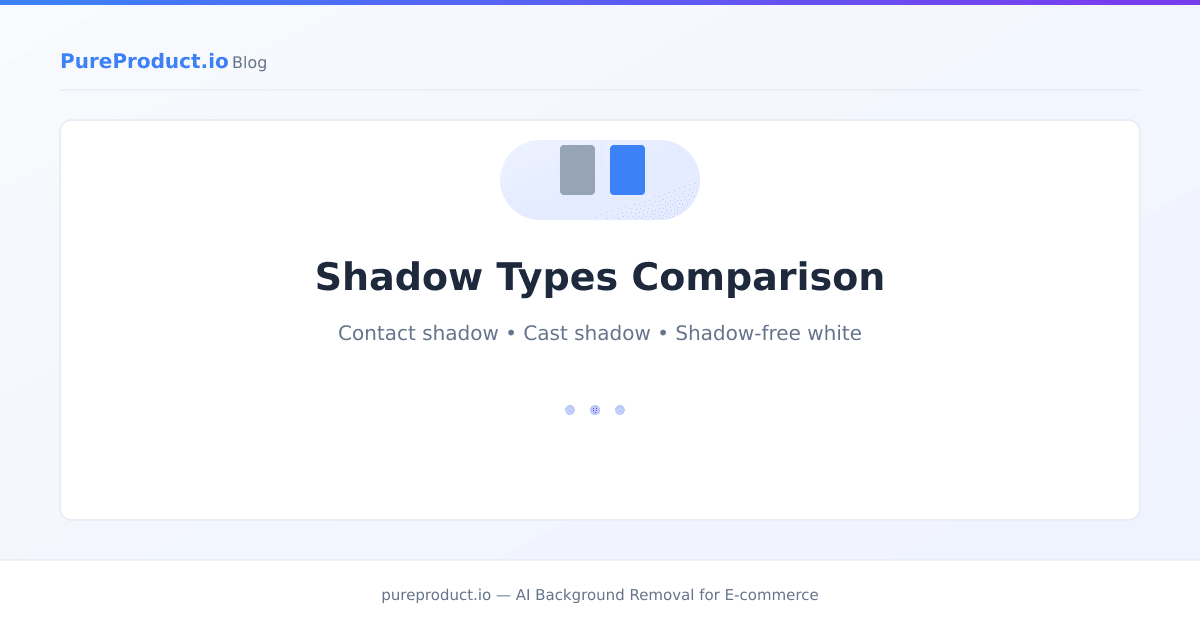
Contact shadows form where the product touches the surface it's resting on. Every object resting on a surface creates a contact shadow — it's a consequence of physics. Even in a well-lit light tent, the area directly beneath the product receives less light than the surrounding surface. Contact shadows are the most common type that needs removal for marketplace compliance. Cast shadows are the directional shadows that extend away from the product, opposite the light source. A single light source positioned above and to the left produces a cast shadow to the lower right. Cast shadows are more prominent with harder light sources (direct sunlight, bare bulbs) and less visible with diffused light sources (softboxes, overcast sky, light tents). Reflected shadows appear on reflective products — chrome, polished metal, glass — where the shadow of the product's own surface reflects internally. These are the hardest to remove because they're part of the product's appearance, not the background. Background gradients are technically not shadows, but they behave similarly. Uneven lighting across a white backdrop creates areas that are brighter (closer to the light) and darker (further from the light). These gradients look like diffuse shadows and are flagged by automated compliance checking on Amazon and Walmart.Method 1: AI Background Removal (Fastest)
For most product photos, removing the entire background — shadow and all — and replacing it with programmatic white is faster and more reliable than trying to remove just the shadow while keeping the original background.
How it works: An AI model identifies the product boundary, isolates the product from everything behind it (background, shadow, surface, props), and outputs the product on either a transparent background or a solid color fill. Why it handles shadows: When you remove the entire background, the shadow is removed as part of that background. The replacement background — programmatic RGB 255,255,255 white — is uniform by definition. There's no shadow to worry about because the shadow existed on the original surface, which is gone. When to use it: This is the right method when you need a clean white background anyway (Amazon, Walmart main images) or when the shadow is inseparable from the background surface. For most e-commerce sellers, this is the default approach. PureProduct handles background removal with marketplace-specific presets that output shadow-free white backgrounds. The Amazon preset produces 2,000 × 2,000 px images with RGB 255,255,255 white — no shadows, no gradients. The free plan covers 50 images per month, which is enough to process a first product batch and verify the output quality. See the pricing page for higher-volume options.Other AI removal tools — Remove.bg, Photoshop's Remove Background, Canva Pro — also handle shadow removal through full background replacement. The key difference is whether the tool outputs marketplace-formatted files directly or requires additional sizing and formatting steps.
!Product photo before and after AI background removal showing shadow elimination
Method 2: Photoshop Curves and Levels Adjustment
When you want to keep the original background but lighten or eliminate a shadow, Photoshop's Curves and Levels adjustments can selectively brighten shadow areas.
Step-by-step approach:Method 3: Photoshop Clone Stamp and Healing Brush
For removing distinct shadow shapes from a background surface, the Clone Stamp and Healing Brush tools can paint over the shadow with background texture sampled from a non-shadowed area.
Step-by-step approach:Method 4: Preventing Shadows at the Shooting Stage
The most reliable shadow removal happens before the photo is taken. Adjusting your shooting setup to minimize shadows reduces or eliminates post-processing work.
Diffused lighting. Replace bare bulbs or direct light sources with softboxes, diffusion panels, or shoot in overcast natural light. Diffused light wraps around the product and minimizes hard cast shadows. Multiple light sources. A single light source creates directional shadows. Adding a second light source on the opposite side fills in shadows. A three-light setup (key light, fill light, background light) is the professional standard for shadow-free product photography. The product photography on a budget guide covers affordable lighting setups. Light tent. For small products, a light tent (diffusion box) surrounds the product with even, soft light from all sides. This dramatically reduces both contact shadows and cast shadows. Light tents in the $20–50 range produce excellent results for products that fit inside them. Elevated shooting surface. Placing products on an elevated surface (a clear acrylic riser, a glass shelf, a suspended platform) moves the contact shadow below the product and out of the camera's field of view. This eliminates contact shadows optically, with no post-processing needed. Background overexposure. In a professional setup, dedicated background lights illuminate the backdrop to 1–2 stops brighter than the product lighting. This overexposure blows the background to pure white in-camera, eliminating any visible shadow on the backdrop. This is how professional studios produce shadow-free white backgrounds without post-processing.Method 5: Intentional Shadow for Non-Amazon Use
Not all shadows need to be removed. On platforms without white background requirements — Etsy, Shopify, Depop, Poshmark — a well-controlled shadow can add depth and dimension to a product photo.
Contact shadow (studio style): A soft, barely visible shadow directly beneath the product grounds it visually and prevents the "floating in space" look that fully shadow-free images sometimes have. This is the standard studio approach for lifestyle and editorial product photography. Drop shadow (added in post): Some AI tools and photo editors can add a clean, consistent drop shadow to a product after background removal. This produces a polished look for websites and social media where the product appears to rest naturally against the background.For more on how to add controlled shadows to product photos for non-Amazon use, the add shadow without Photoshop guide covers the practical approaches.
Which Method to Use: A Decision Guide
Need Amazon/Walmart-compliant white background? → AI background removal. The shadow is removed as part of the background replacement. This is the fastest and most reliable path. Want to keep the original background but reduce shadows? → Photoshop Curves/Levels for soft shadows. Clone Stamp for hard-edged shadows. Processing high volume (50+ images)? → AI background removal in batch. Manual Photoshop methods don't scale. Single critical product image that needs perfect results? → Photoshop manual approach or professional retouching service. AI tools are fast but manual work produces the cleanest results on complex images. Want to avoid shadows entirely? → Improve the lighting setup. Prevention is more reliable than removal.Frequently Asked Questions
Does Amazon reject photos with shadows?
Amazon's main image requirements prohibit shadows on the white background. Amazon uses automated image quality scanning that detects shadows, and non-compliant images can be suppressed from search results. This applies to contact shadows, cast shadows, and background gradients. Secondary images have more flexibility — some shadow is acceptable in lifestyle and context shots.
What's the fastest way to remove shadows from product photos?
AI background removal is the fastest method for most sellers. Upload the image, let the AI isolate the product, and export with a clean white background. The shadow is removed as part of the background replacement, so there's no separate shadow-editing step. Batch processing makes this approach scale to hundreds of images per session.
Can I remove shadows without removing the background?
Yes. Photoshop's Curves, Levels, Clone Stamp, and Healing Brush tools can reduce or remove shadows while keeping the original background. This approach requires more skill and time per image but preserves the original background surface, which is useful for lifestyle images where the background is part of the composition.
How do I prevent shadows in product photos?
Use diffused lighting (softboxes or a light tent), add a fill light opposite your main light source, and consider elevating the product on a clear surface so contact shadows fall below the frame. Shooting in overcast natural light near a large window also minimizes shadows without any special equipment.
Do I need Photoshop to remove shadows?
No. AI background removal tools handle shadow removal without Photoshop by replacing the entire background with clean white. For sellers who need marketplace-compliant images, AI removal is often more practical than Photoshop-based shadow editing. Photoshop is useful for complex individual images or for cases where you want to keep the original background.
Shadow removal is one of the most common product photography tasks, and the right approach depends on whether you're solving for marketplace compliance (remove everything, output white) or for image quality (reduce shadows while keeping the background). For most e-commerce sellers, AI background removal handles both efficiently — the shadow disappears as part of the background replacement. If you need compliant white backgrounds at volume, PureProduct's free plan covers 50 images per month and is the fastest way to test the output on your specific product types.
PureProduct Team
PureProduct.io
Ready to save hours on product photo editing?
PureProduct handles background removal, marketplace resizing, and shadow generation in one upload. Try it free with 50 images per month — no credit card required.